This week, I needed to make a cake for my nephew. He said he liked skateboarding and basketball. So, I knew the cake needed to look a little more mature since he is getting older. I figured this would be a great time to break out the airbrush. I wanted to add a little bit of a graffiti look to give the cake a little bit of an edge. I also had to make the skateboard. For my first try, I used modeling chocolate and gumpaste. This was not a good idea, because it never really set. The board just kept bending. So, I redid it in gumpaste only. It worked so much better!!! I had a lot of fun with this one, and hope it's cool enough for my nephew.
|
I get to make my first multi-colored bow for a gender reveal cake. I went back and forth between using floral wire in the pieces, or just using candy melts as the glue to keep the pieces together. I ended up choosing the candy melts, and I love how easy it was to put together. I first cut out fondant pieces that were 5 inches in length, and 2 inches wide. I folded the pieces in half and let them dry on their side on wax paper. I LOVE WAX PAPER!!!! After two days of drying, I melted my candy melts (1 1/2 minutes in the microwave) and used it to attach my pieced together. I love the results!!! So, apparently, I do not have enough to do. Today, I decided to try something I saw on Pinterest. While I was at Hobby Lobby yesterday, I found some canvas paper on sale that you can use with your printer. I remember someone writing about how you can print out a photo on the paper, use Mod Podge, and then attach it to a canvas. I printed out some of my cake photos. Then, put Mod Podge on the canvas panels I already had a home. After I put on the photos, I put another coat on the canvas photos. I then attached some ribbon and hung my photos on the wall. TaDa!!!!! 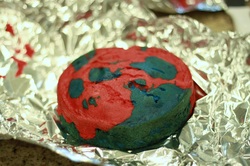 One of my friends asked if I could make a July 4th cake with a design on the inside. I was supposed to put a 4, but couldn't find a cookie cutter. So, we opted to use a star instead. I was very excited to try something new. I looked everywhere to make sure I made the cake correctly and I found a great tutorial here. So, I started with the colored cake - red and blue (using a white cake mix). 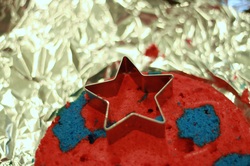 I then cut out the stars and stacked them in the loaf pan.  I put a little batter in the bottom of the pan, so the stars would stay in place. 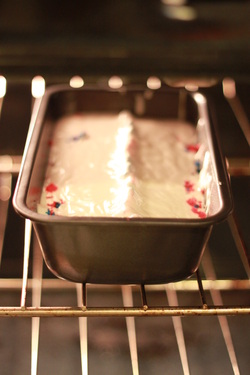 Then, I learned you have to be careful when pouring in the remaining batter. Pour it slowly, or you'll knock over your stars. Oh my stars!!! I also put little pieces of red and blue cake in the batter so it would look like sprinkles in the cake. 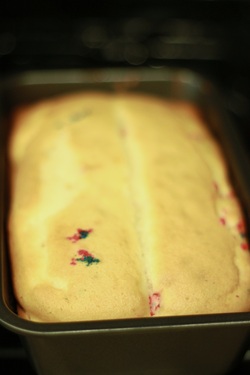 I baked my cake like normal, and this is what it looked like. 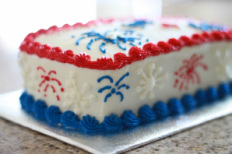 I decorated the cake with buttercream. Normally, I would level the cake, but I did not want to cut away any part of the stars. I am hoping it looks perfect when cut. 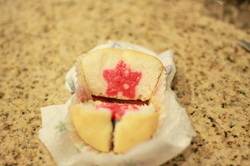 I made a couple of cupcakes and cut one just to make sure this method really worked. I was really amazed that the stars, even though baked twice, were just as moist as the white cake. I would call this new method a success!!! 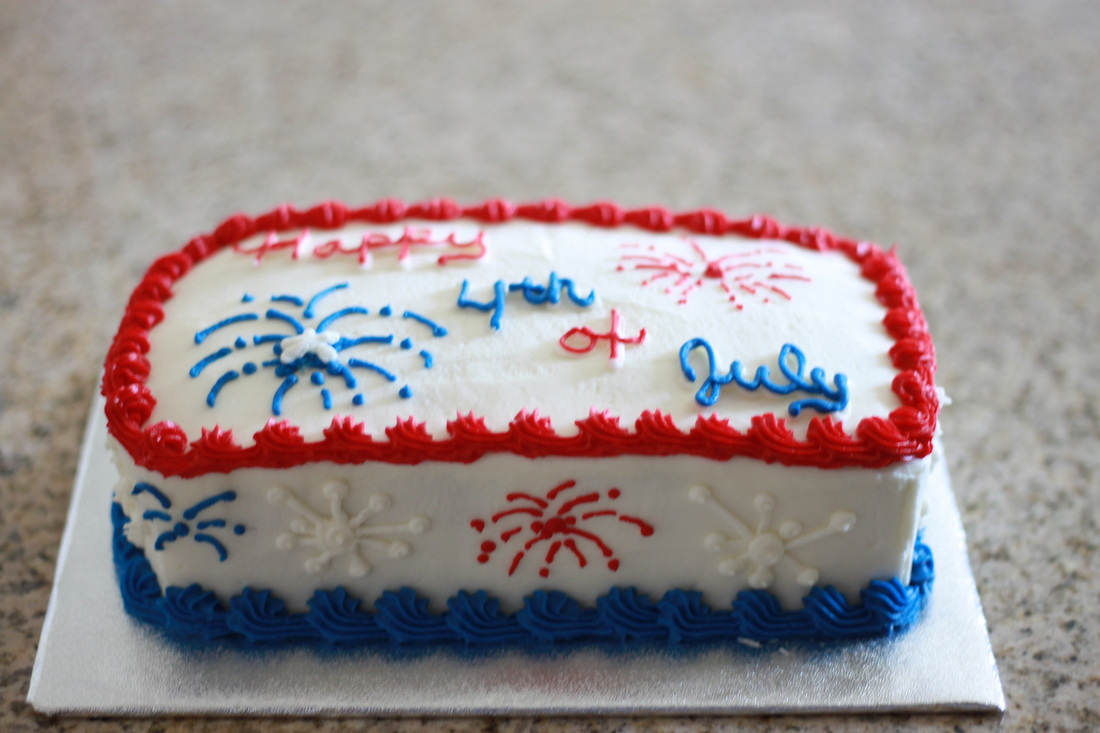 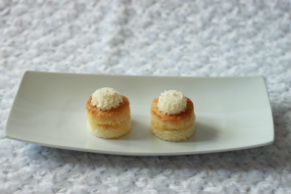 I was so excited to get a new lens for my Canon this weekend. It was a 50 mm lens that will hopefully take better pictures of my cakes. I did a lot of reading and it seemed like a really great deal. I used it to take a picture of my tasting plate. I really liked the way the photos turned out, and I did not have to do any editing. I moved the plate around to see what the best image would be, and I loved the lighting in all of them. I was having way too much fun!!! I decided to not cut off the top part of the white cake (recipe can be found here). I really liked the golden color in the photos. I also love that you can see the pineapple filling (recipe can be found here) in the photo along with the adorable piped buttercream on top. I can''t wait to take more photos with this lens. 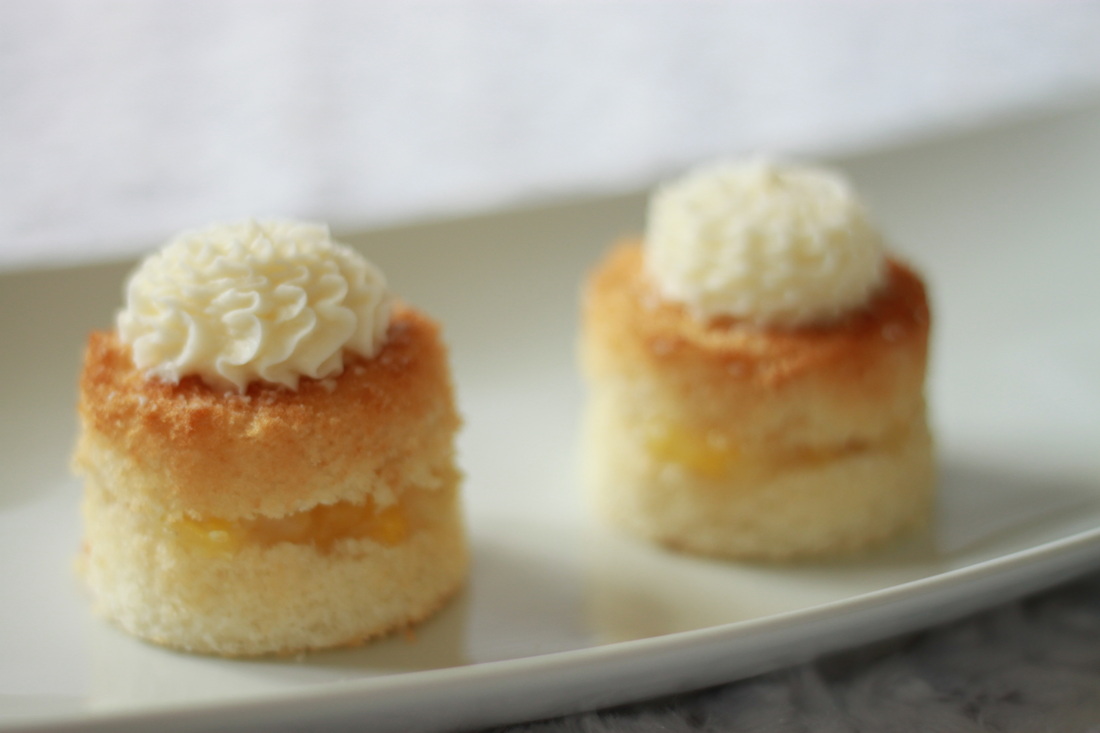
|
AuthorLisa Duran - mommy by day, caker by night Archives
February 2018
Categories
All
|


 RSS Feed
