My sister and I have always been best friends. Last year, we were both pregnant at the same time and it was such an amazing time for me. Now that we have had our girls, we continue to share stories and milestones of our little ones since they are so close in age.
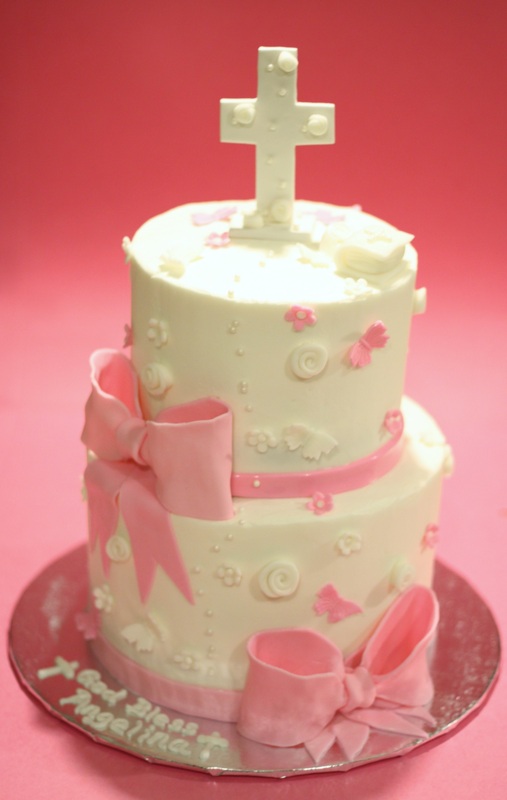
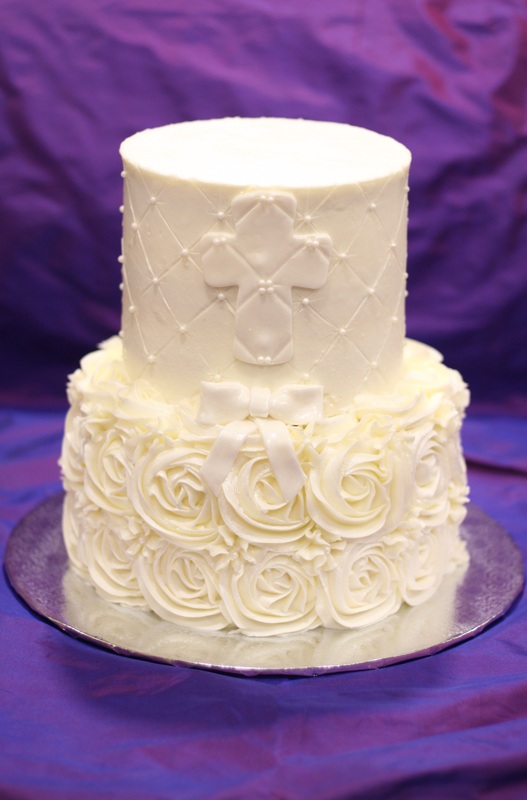
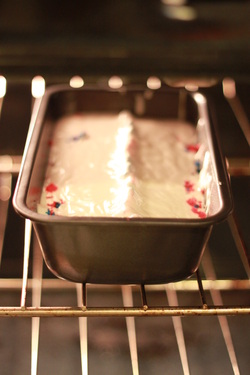
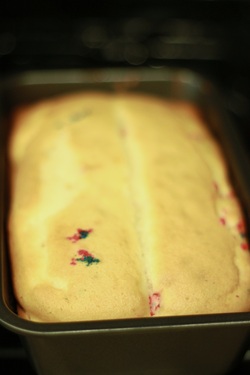
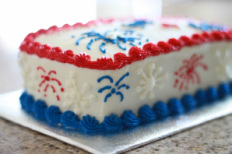
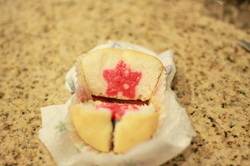
We just baptized both our little girls, which was such a special moment in their lives and ours. And of course, you have to make a cake for special moments. So, here are the two cakes that were made for our beautiful daughters. I feel so very blessed that I have something to give to my niece and daughter on their special days!!!
We just baptized both our little girls, which was such a special moment in their lives and ours. And of course, you have to make a cake for special moments. So, here are the two cakes that were made for our beautiful daughters. I feel so very blessed that I have something to give to my niece and daughter on their special days!!!


 RSS Feed
